Synchronize Git resources with the cluster using a GitOps operator
This tutorial shows how you can automate the deployment of local Kyma resources on a cluster using the GitOps logic. You will use Kyma CLI to create an inline Python Function. You will later push the resource to a GitHub repository of your choice and set up a GitOps operator to monitor the given repository folder and synchronize any changes in it with your cluster. For the purpose of this tutorial, you will install and use the Flux GitOps operator and a lightweight k3d cluster.
TIP: Although this tutorial uses Flux to synchronize Git resources with the cluster, you can use an alternative GitOps operator for this purpose, such as Argo.
Prerequisites
All you need before you start is to have the following:
Steps
These sections will lead you through the whole installation, configuration, and synchronization process. You will first install k3d and create a cluster for your custom resources (CRs). Then, you will need to apply the necessary CustomResourceDefinition (CRD) from Kyma to be able to create Functions. Finally, you will install Flux and authorize it with the write access to your GitHub repository in which you store the resource files. Flux will automatically synchronize any new changes pushed to your repository with your k3d cluster.
Install and configure a k3d cluster
Install k3d using Homebrew on macOS:
Click to copybrew install k3dCreate a default k3d cluster with a single server node:
Click to copyk3d cluster create {CLUSTER_NAME}This command also sets your context to the newly created cluster. Run this command to display the cluster information:
Click to copykubectl cluster-infoApply the
functions.serverless.kyma-project.ioCRD from sources in thekymarepository. You will need it to create the Function CR on the cluster.Click to copykubectl apply -f https://raw.githubusercontent.com/kyma-project/kyma/main/installation/resources/crds/serverless/functions.serverless.crd.yamlRun this command to make sure the CRs are applied:
Click to copykubectl get customresourcedefinitions
Prepare your local workspace
Create a workspace folder in which you will create source files for your Function:
Click to copymkdir {WORKSPACE_FOLDER}Use the
initKyma CLI command to create a local workspace with default configuration for a Python Function:Click to copykyma init function --runtime python39 --dir $PWD/{WORKSPACE_FOLDER}TIP: Python 3.9 is only one of the available runtimes. Read about all supported runtimes and sample Functions to run on them.
This command will download the following files to your workspace folder:
config.yamlwith the Function's configurationhandler.pywith the Function's code and the simple "Hello World" logicrequirements.txtwith an empty file for your Function's custom dependencies
Install and configure Flux
You can now install the Flux operator, connect it with a specific Git repository folder, and authorize Flux to automatically pull changes from this repository folder and apply them on your cluster.
Install Flux:
Click to copybrew install fluxctlCreate a
fluxNamespace for the Flux operator's CRDs:Click to copykubectl create namespace fluxkubectl label namespace flux istio-injection=enabled --overwriteExport details of your GitHub repository - its name, the account name, and related e-mail address. You must also specify the name of the folder in your GitHub repository to which you will push the Function CR built from local sources. If you don't have this folder in your repository yet, you will create it in further steps. Flux will synchronize the cluster with the content of this folder on the
mainbranch.Click to copyexport GH_USER="{USERNAME}"export GH_REPO="{REPOSITORY_NAME}"export GH_EMAIL="{EMAIL_OF_YOUR_GH_ACCOUNT}"export GH_FOLDER="{GIT_REPO_FOLDER_FOR_FUNCTION_RESOURCES}"Run this command to apply CRDs of the Flux operator to the
fluxNamespace on your cluster:Click to copyfluxctl install \--git-user=${GH_USER} \--git-email=${GH_EMAIL} \--git-url=git@github.com:${GH_USER}/${GH_REPO}.git \--git-path=${GH_FOLDER} \--namespace=flux | kubectl apply -f -You will see that Flux created these CRDs:
Click to copyserviceaccount/flux createdclusterrole.rbac.authorization.k8s.io/flux createdclusterrolebinding.rbac.authorization.k8s.io/flux createddeployment.apps/flux createdsecret/flux-git-deploy createddeployment.apps/memcached createdservice/memcached createdList all Pods in the
fluxNamespace to make sure that the one for Flux is in theRunningstate:Click to copykubectl get pods --namespace fluxExpect a response similar to this one:
Click to copyNAME READY STATUS RESTARTS AGEflux-75758595b9-m4885 1/1 Running 0 32mObtain the certificate (SSH key) that Flux generated:
Click to copyfluxctl identity --k8s-fwd-ns fluxRun this command to copy the SSH key to the clipboard:
Click to copyfluxctl identity --k8s-fwd-ns flux | pbcopyGo to Settings in your GitHub account:
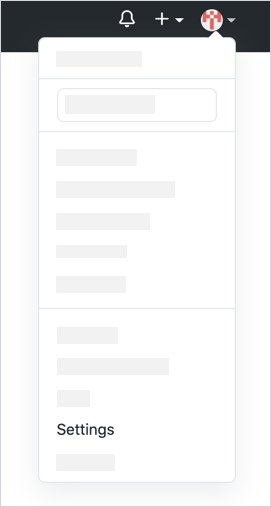

Go to the SSH and GPG keys section and select the New SSH key button:
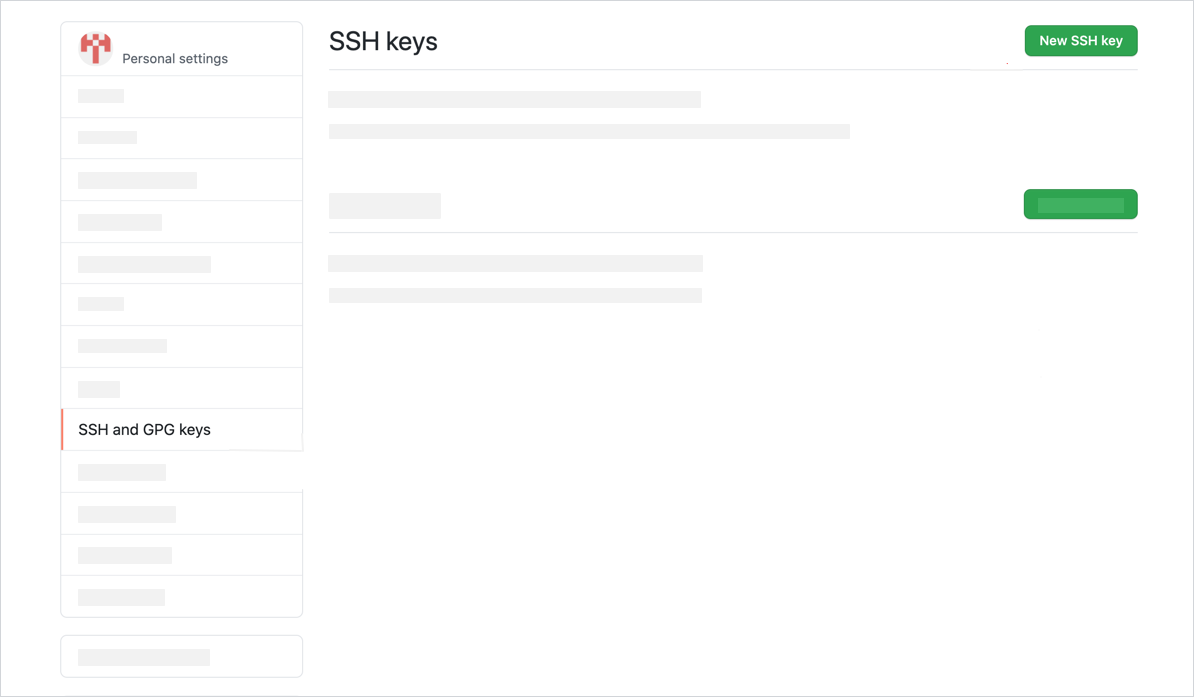

Provide the new key name, paste the previously copied SSH key, and confirm changes by selecting the Add SSH Key button:


Create a Function
Now that Flux is authenticated to pull changes from your Git repository, you can start creating CRs from your local workspace files.
In this section, you will create a sample inline Function.
Back in the terminal, clone this GitHub repository to your current workspace location:
Click to copygit clone https://github.com/${GH_USER}/${GH_REPO}.gitNOTE: You can also clone the repository using SSH. To do that, you need to generate a new SSH key and add it to the ssh-agent.
Go to the repository folder:
Click to copycd ${GH_REPO}If the folder you specified during the Flux configuration does not exist yet in the Git repository, create it:
Click to copymkdir ${GH_FOLDER}Run the
applyKyma CLI command to create a Function CR in the YAML format in your remote GitHub repository. This command will generate the output in themy-function.yamlfile.Click to copykyma apply function --filename {FULL_PATH_TO_LOCAL_WORKSPACE_FOLDER}/config.yaml --output yaml --dry-run > ./${GH_FOLDER}/my-function.yamlPush the local changes to the remote repository:
Click to copygit add . # Stage changes for the commitgit commit -m 'Add my-function' # Add a commit messagegit push origin main # Push changes to the "main" branch of your Git repository. If you have a repository with the "main" branch, use this command instead: git push origin mainGo to the GitHub repository to check that the changes were pushed.
By default, Flux pulls CRs from the Git repository and pushes them to the cluster in 5-minute intervals. To enforce immediate synchronization, run this command from the terminal:
Click to copyfluxctl sync --k8s-fwd-ns fluxMake sure that the Function CR was applied by Flux to the cluster:
Click to copykubectl get functionsYou can see that Flux synchronized the resource and the new Function CR was added to your cluster.
Reverting feature
Once you set it up, Flux will keep monitoring the given Git repository folder for any changes. If you modify the existing resources directly on the cluster, Flux will automatically revert these changes and update the given resource back to its version on the main branch of the Git repository.